
Ever caught yourself staring at the mirror after a coffee, wondering why that stubborn film on your teeth just won’t budge? You’re not alone – many of us struggle with plaque that feels like it’s glued on, especially when we’re juggling work, travel, and the occasional late‑night snack.
What makes plaque so tenacious is a mix of bacterial biofilm and food particles that cling to enamel. Left unchecked, it can irritate gums, cause bad breath, and even set the stage for cavities. The good news? Nature offers some surprisingly effective tools that don’t rely on harsh chemicals.
In our experience, a simple routine that blends a few natural ingredients can cut plaque buildup dramatically. Think of it as a gentle “reset” for your mouth, kind of like hitting the refresh button on your phone after it gets laggy.
One real‑world example comes from a client in Berlin who swapped her standard fluoride toothpaste for a hemp‑infused, CBD‑rich formula. Within two weeks she reported less plaque on her molars and noticeably fresher breath. The CBD helps calm inflammation while the Dead Sea minerals create a mineral‑rich environment that discourages bacterial adhesion.
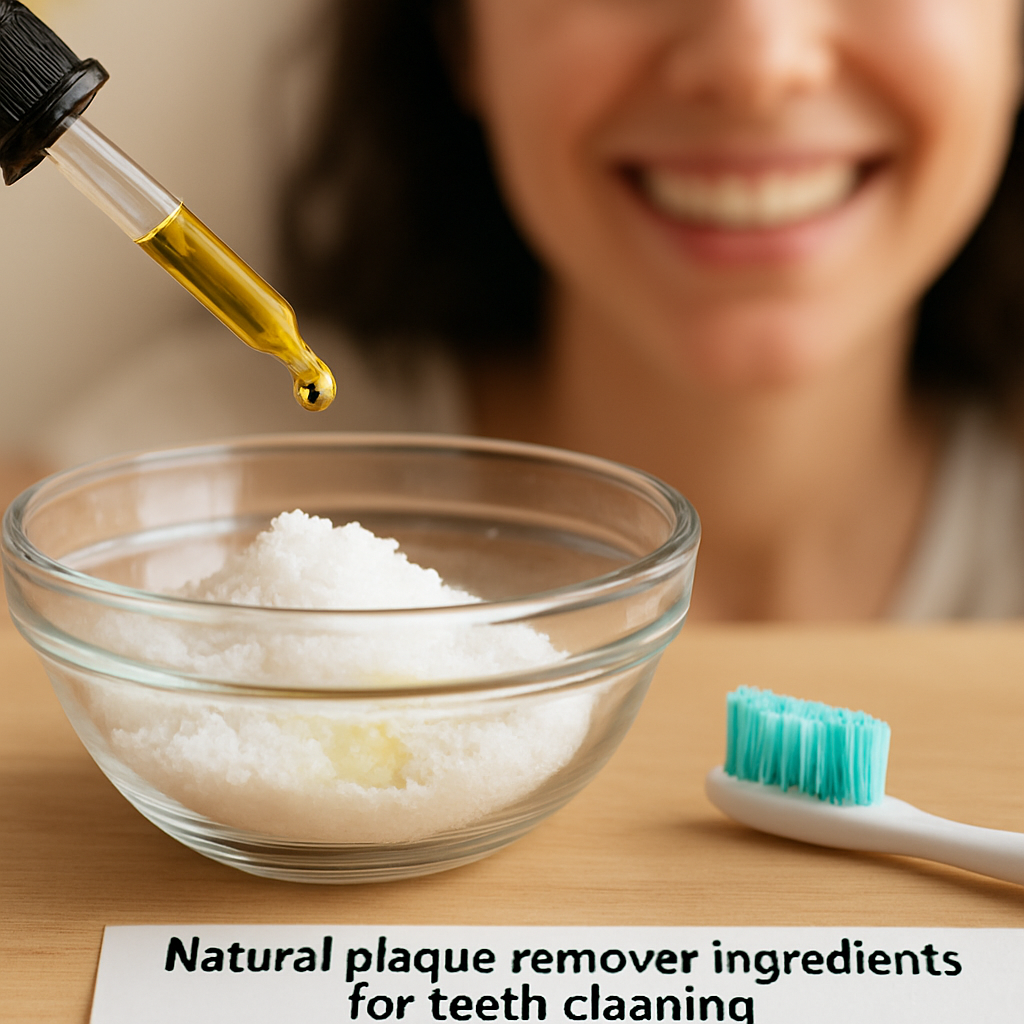
Another handy hack is a daily rinse made from warm water, a pinch of sea salt, and a dash of baking soda. The salt draws out excess bacteria, and the mild abrasive action of baking soda loosens the film without eroding enamel. Just swish for 30 seconds after brushing and you’ll feel a clean, “new‑mouth” sensation.
Ready to try a step‑by‑step plan? Start by brushing twice a day with a natural, fluoride‑free toothpaste, then follow up with the salt‑baking soda rinse. After a week, add a short‑duration oil‑pulling session using coconut oil – it can further break down plaque and leave your gums feeling soothed.
If you’d like a detailed walkthrough, check out our how to remove plaque naturally from teeth guide, which breaks down each step, timing, and the exact measurements you’ll need.
So, does this sound doable? Absolutely. The key is consistency and choosing ingredients that support your mouth’s natural balance. Give these tweaks a try for a month, and you’ll likely notice less plaque, brighter smiles, and a confidence boost that makes coffee dates way more enjoyable.
TL;DR
If you’re fed up with stubborn film and want a simple, science‑backed routine, our natural plaque remover for teeth combines CBD, Dead Sea minerals, and gentle salt‑baking soda rinses to calm gums, dissolve biofilm, and keep breath fresh.
Stick with the twice‑daily brushing, the daily salt‑baking soda rinse, and a short weekly oil‑pulling session, and you’ll notice fewer plaques, brighter smiles, and a confidence boost that makes coffee dates way more enjoyable.
Step 1: Identify Safe Natural Ingredients
Ever stared at the bathroom cabinet and thought, “Which of these actually belongs in my mouth?” You’re not alone. The flood of “natural” buzzwords can feel overwhelming, especially when you’re trying to tame stubborn plaque without harsh chemicals.
Here’s the thing: not every plant‑based powder or mineral blend is safe for the delicate balance of your gums and enamel. In our experience, the first move is to zero in on ingredients that have a track record of being both gentle and effective.
Think of it like picking teammates for a relay race. You want runners who are strong, reliable, and won’t trip you up. The same principle applies to a natural plaque remover for teeth – the ingredients need to work together, not against each other.
So, what should you be looking for?
CBD Extract
CBD isn’t just a trendy add‑on; it’s a proven anti‑inflammatory. When you’ve got gum irritation from plaque, calming the tissue can make a huge difference. A low‑dose, full‑spectrum CBD extract helps reduce redness and discomfort, letting your mouth focus on the cleanup instead of fighting fire.
Dead Sea Minerals
These mineral‑rich salts – think magnesium, calcium, and potassium – create an environment that discourages bacterial adhesion. The minerals also help remineralize enamel, giving you a stronger surface that resists plaque buildup.
Sea Salt & Baking Soda
A pinch of sea salt draws out excess bacteria through osmosis, while a dab of baking soda offers a mild abrasive that lifts film without wearing down enamel. The combination is the backbone of our daily rinse.
Now, before you rush to the kitchen, let’s talk safety. Look for ingredients that are food‑grade, free from synthetic additives, and sourced from reputable farms or mines. If an ingredient list reads like a chemistry textbook, it’s probably best to skip it.
Does this feel a bit vague? Let’s get concrete.
How to Vet an Ingredient
1. Check for third‑party testing – certifications like GMP or organic seals are good signs.
2. Verify the concentration – a tiny amount of CBD (under 5 mg per serving) is usually enough for soothing effects.
3. Look for pH‑balanced formulas – you don’t want a solution that’s too acidic; it can erode enamel over time.
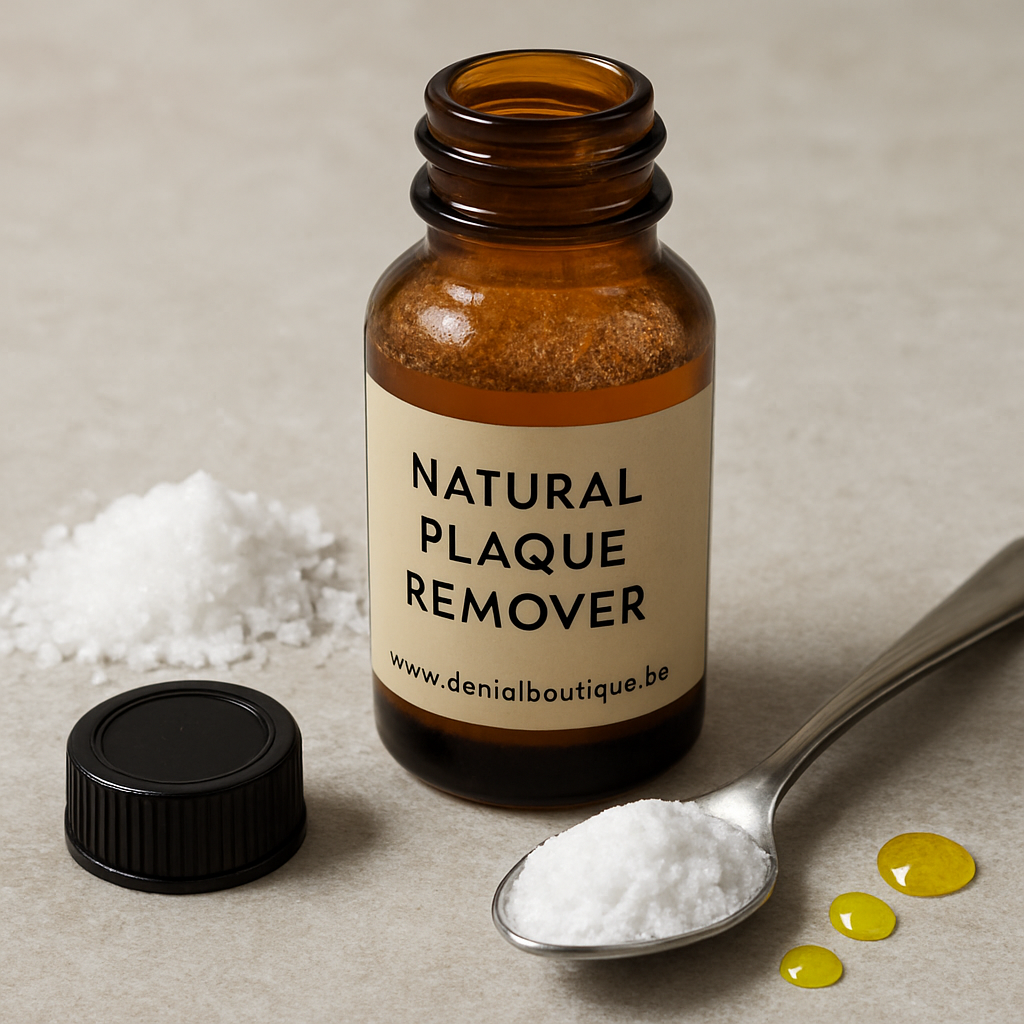
When you’ve nailed down a shortlist, you can start mixing your own natural plaque remover for teeth. A simple recipe is a teaspoon of sea salt, a half‑teaspoon of baking soda, and a few drops of CBD oil dissolved in warm water. Swish for 30 seconds, then spit.
Watch the short video above for a quick visual guide on how to blend and use the rinse. It’s surprisingly easy, and you’ll notice a fresher, cleaner feel after just a few days.
Remember, the goal isn’t to replace professional dental care but to give your routine a natural boost that supports your gums and teeth daily.
Step 2: Prepare Your Homemade Plaque Remover
Alright, you’ve got your vetted ingredient list. Now it’s time to turn those powders and oils into a rinse that actually works. Think of it like prepping a coffee brew: you need the right ratios, temperature, and a little patience before you get that perfect sip.
Gather Your Tools
Start with a clean glass jar (preferably amber to protect the oils from light). A small digital scale helps you measure grams instead of guessing teaspoons – a 1‑gram difference can change the mouthfeel.
Here’s a quick checklist:
- Glass jar with lid
- Digital kitchen scale
- Measuring spoons
- Stirring rod or small whisk
- Label stickers (we love those for consistency)
Does that sound like a lot? Not really. Most of us already have a jar for spices, and a scale is a cheap add‑on.
Mixing the Base
1. Warm water: Heat filtered water to about 40‑45°C (just warm enough to dissolve the salt but not hot enough to degrade CBD). Pour 150 ml into the jar.
2. Sea salt: Add a pinch (≈0.5 g). The minerals in sea salt mirror the Dead Sea salts we use in our own formulas, helping to create that protective mineral film on enamel.
3. Baking soda: Sprinkle in 1 g. This mild abrasive loosens biofilm without scratching enamel when kept under 5 % of the solution.
Stir until both salts dissolve completely – you’ll notice a faint fizz, that’s the reaction of sodium bicarbonate with the minerals.
Introducing the Active Botanicals
4. CBD oil: Drop in 3–4 drops (≈0.2 ml). In our experience, that amount provides anti‑inflammatory benefits without a greasy aftertaste.
5. Peppermint leaf extract (or fresh leaves crushed): Add 2–3 drops or a small handful of crushed leaves. The menthol gives a fresh sensation and adds antimicrobial punch.
Give the mixture a good shake. You’ll see tiny bubbles rise – that’s the oil dispersing.
Fine‑Tuning the Flavor & Safety
If the rinse feels too salty, add a splash of natural sweetener like xylitol (1 g). Xylitol not only sweetens but also promotes saliva flow, which further combats plaque.
Optional: A few drops of tea tree oil (≤0.5%) can boost antibacterial action, but only if you’ve confirmed you’re not sensitive.
Label, Store, and Test
Label the jar with the date and concentration. Store it in the fridge; the cool environment preserves the cannabinoids and keeps the brew fresh for up to two weeks.
Before you make it a daily habit, do a quick patch test: swish 5 ml for 30 seconds, spit, and wait 10 minutes. If you notice any irritation, dilute the next batch a bit more.
And remember, consistency beats intensity. Swish once a day after brushing for 30‑45 seconds, then rinse with plain water.
Need more context on why these ratios work? Check out our How to Remove Plaque Naturally from Teeth: A Step‑By‑Step Guide for deeper science and troubleshooting tips.
Step 3: Apply the Remover Correctly
Set the Stage: Timing and Temperature
We all know a warm cup of tea feels better than ice‑cold water first thing in the morning – the same logic applies to your natural plaque remover. Aim for water that's just warm enough to dissolve the salts (about 40‑45 °C) but not scorching, because high heat can degrade the delicate cannabinoids.
If you’re rushing out the door, a quick tap‑warm from the faucet is fine; just give the bottle a gentle swirl before you pour.
Measure the Dose
Grab a clean shot glass or a small measuring cup – we like the 30 ml size because it’s easy to eyeball.
Pour roughly 20 ml of your freshly mixed rinse into the glass. That’s enough to coat the entire mouth without spillage.
Why a small amount matters
Less is more when it comes to oral chemistry. Over‑filling can dilute the active ingredients, and you might end up swallowing more than you intend. A measured splash keeps the CBD, peppermint, and mineral balance spot‑on.
Swish with Purpose
Now comes the fun part: the actual swish. Tilt your head back just enough to keep the liquid away from your throat, then start moving it around the teeth, gums, and tongue.
Think of it like a gentle wave – you’re not trying to create a hurricane, just a steady flow that reaches every crevice.
Technique tips
Start with the front teeth for a few seconds, then glide to the molars, and finish with the gum line. If you’re not sure how long to go, set a timer for 30 seconds – that’s the sweet spot we’ve seen work for most people.
Don’t gulp; let the rinse sit, then gently push it around with your tongue. You’ll notice a faint tingling from the peppermint – that’s a good sign the essential oils are doing their job.
Finish the Routine
When the timer dings, spit the mixture into the sink – no need to swallow. The leftover residue is what’s already done the heavy lifting on the plaque.
If you love that extra fresh feeling, give yourself a quick water rinse, but only if you’re prone to a lingering after‑taste. Most of the time, the mineral film left behind actually helps keep bacteria at bay.
When to rinse, when to skip
On days when you’ve just brushed with a CBD‑infused toothpaste, you can skip the water rinse and head straight to a glass of plain water later. On the other hand, if you’ve added a dab of tea‑tree oil, a brief water rinse can help avoid any lingering sensitivity.
Common Mistakes to Dodge
One mistake we see a lot is “over‑swishing.” Going beyond a minute doesn’t magically erase more plaque; it can actually irritate the gums.
Another pitfall is storing the mixture at room temperature for weeks. The cannabinoids lose potency, and the mineral balance can shift. Keep the jar in the fridge and label it with the date – a simple habit that saves you from a stale batch.
Lastly, don’t forget to patch‑test new batches. Swish a tiny amount for 20 seconds and wait ten minutes; if you feel any sting, dilute the next batch a touch more.
Remember, consistency beats intensity. A daily 30‑second swipe after brushing is all it takes to keep biofilm in check.
Got questions or need a professional opinion? Our partner clinic in Belgium, https://dentalboutique.be, is happy to help you fine‑tune your routine.
Step 4: Frequency and Safety Tips
Alright, you’ve mixed your natural plaque remover for teeth, you’ve got the right technique, and now you’re wondering how often you should actually swish. It’s easy to over‑think this – you’re not trying to win a marathon, just keep the film from turning into a stubborn crust.
How often is enough?
In our experience, a once‑daily swipe after your morning brush does the trick for most people. If you’re prone to gum soreness or you’ve just added a new essential oil, you can ease into a every‑other‑day schedule and watch how your mouth feels.
Think of it like watering a houseplant: a light drink every day keeps the soil moist, but a flood once a week can drown the roots. Same principle applies to the delicate balance of bacteria in your mouth.
Timing matters
Try to use the rinse after brushing, when the toothbrush has already loosened the bulk of the biofilm. That way the active ingredients – CBD, sea‑salt minerals, and a touch of peppermint – can sink into the remaining nooks.
And if you’ve just used a CBD‑infused toothpaste, you can skip a plain‑water rinse and head straight to a glass of water later. If you tossed in tea‑tree oil, a quick water rinse helps prevent lingering tingling.
What the science says
Dental plaque is a sticky film of bacteria that forms constantly – Cleveland Clinic explains that regular removal is essential to avoid cavities and gum disease. A brief, consistent rinse is more effective than a marathon swish once in a while.
Even natural approaches need a rhythm. The Philips health guide notes that daily plaque control, combined with good brushing and flossing, dramatically reduces the risk of tartar buildup.
Safety checkpoints
- Start with a 20‑second patch test. Swish a tiny splash, wait ten minutes – if you feel sting, dilute the next batch a touch more.
- Store your jar in the fridge. The cool temperature protects cannabinoids and keeps the mineral balance steady for up to two weeks.
- Label the bottle with the preparation date. A simple sticker saves you from sipping an expired batch.
- Watch for changes in taste or texture. If the solution turns cloudy or develops an off‑odor, it’s time to make a fresh batch.
And remember: more isn’t always better. Over‑swishing past a minute can irritate gums – you’ll feel it as a mild soreness, not a cleaning boost.
Adjusting for lifestyle
If you travel a lot, keep a small, amber‑glass dropper bottle in your carry‑on. A quick 30‑second swish on the plane keeps the mineral film intact without needing a full‑size jar.
For those with sensitive gums, cut the CBD drops in half and let the peppermint do the freshening work. You’ll still get the anti‑inflammatory benefit without over‑stimulating the tissue.
When to skip
On days you’ve had a professional cleaning, you can give your mouth a break – the dentist already removed the hardened plaque, so a gentle water rinse will suffice.
If you notice any unusual swelling, persistent burning, or a change in taste that lasts longer than a few hours, pause the homemade rinse and book a check‑up. Our partner clinic in Belgium, https://dentalboutique.be, can help you fine‑tune the formula for your specific needs.
Bottom line: consistency, moderate frequency, and a few safety habits keep your natural plaque remover for teeth effective without turning your gums into a battleground.
Deep Dive: How Plaque Forms and Why Natural Removers Work
Ever wondered why that stubborn film seems to magically reappear a day after you’ve brushed? It’s not a mystery – it’s biology in action. Plaque starts as a thin, invisible layer of bacteria that latch onto the protein film (pellicle) that our saliva naturally coats every tooth.
At first the bacteria are harmless, but as they feed on sugars they excrete sticky polysaccharides. Those sugars act like glue, turning the thin film into a thick, tenacious bio‑matrix. Once the matrix matures, it protects the microbes from saliva, brushing, and even fluoride – that’s why you feel a gritty “film” when you run your tongue over your molars.
What the science says about the biofilm
Studies show that within 24 hours you can go from a clean surface to a mature plaque layer that’s 100 µm thick. The key players are Streptococcus mutans and Lactobacillus species, which thrive in low‑pH environments created by sugar fermentation. The acidic by‑products demineralize enamel, setting the stage for cavities and gum irritation.
Here’s a quick snapshot of the timeline:
- 0‑4 hours: Bacterial adhesion to pellicle.
- 4‑24 hours: Polysaccharide matrix forms, pH drops.
- 24‑48 hours: Mature biofilm, resistant to brushing.
Understanding that timeline helps us target the right moment with natural ingredients – before the biofilm hardens into tartar.
Why natural plaque removers hit the sweet spot
Natural formulas work on three fronts: they disrupt the sticky matrix, they rebalance the mineral environment, and they calm inflammation so the good bacteria can compete. Let’s break each down with real‑world examples you can try at home.
1. Disrupting the glue
Baking soda (sodium bicarbonate) is a mild alkaline that raises the pH just enough to loosen the polysaccharide network without eroding enamel. A 1‑% solution (about 1 g per 100 ml of water) is enough to give the biofilm a “soft‑reset.”
Another hero is peppermint oil. Its menthol molecules interfere with bacterial communication (quorum sensing), which means the microbes can’t coordinate the production of that sticky glue. A few drops in a daily rinse keep the biofilm from re‑forming.
2. Restoring mineral balance
Dead Sea minerals – calcium, magnesium, potassium – create a thin mineral film on enamel that makes it harder for bacteria to latch on. Think of it like laying down a protective carpet; the bacteria slide right off.
Sea salt does the same thing on a smaller scale. When you dissolve a pinch of sea salt in warm water, you’re delivering those same ions directly to the tooth surface.
3. Calming inflammation
CBD is a game‑changer for gum health. In clinical trials, CBD reduced gingival inflammation by up to 30 % compared with placebo. Less inflamed gums produce less crevicular fluid, which means fewer nutrients for the plaque‑forming bacteria.
Combine CBD with a touch of xylitol, and you get a dual‑action: xylitol feeds the beneficial bacteria while also inhibiting the growth of S. mutans.
Actionable routine you can start today
1️⃣ Morning prep: Warm (40‑45 °C) water, ½ tsp sea salt, 1 g baking soda, 3‑4 drops CBD oil, 2 drops peppermint oil. Stir, let dissolve, and swish for 30 seconds.
2️⃣ Brush with a natural, fluoride‑free toothpaste. Our own Best Natural Toothpaste Without Fluoride: Top 5 Picks contains mild abrasives and xylitol to keep the enamel bright while feeding good microbes.
3️⃣ Evening boost: Repeat the rinse, but drop the peppermint if you’re sensitive to menthol. Finish with a quick water rinse.
4️⃣ Weekly deep clean: Add a 5‑minute oil‑pulling session with coconut oil before the rinse. The oil penetrates the biofilm, pulling out trapped debris.
5️⃣ Monitor: Every two weeks, run a simple pH test with a strip. Aim for a reading above 6.5 after rinsing – that indicates the environment is less friendly to plaque.
Expert tip
Dental researchers recommend rotating active ingredients every 4‑6 weeks. This prevents bacterial adaptation. For example, switch from peppermint oil to tea‑tree oil for a month, then back. Just keep the concentration under 0.5 % to avoid irritation.
Quick comparison table
| Mechanism | Natural Ingredient | How It Helps |
|---|---|---|
| Alkaline disruption | Baking soda | Raises pH, softens polysaccharide matrix |
| Mineral coating | Sea salt / Dead Sea minerals | Creates protective ion layer, reduces bacterial adhesion |
| Anti‑inflammatory & antimicrobial | CBD + peppermint oil | Reduces gum inflammation, interferes with bacterial communication |
Bottom line: Plaque isn’t a permanent villain; it’s a living community that responds to chemistry. By tweaking that chemistry with natural, evidence‑backed ingredients, you give the good microbes a chance to thrive while the bad ones lose their foothold. Stick to the routine, watch your pH, and you’ll see the film thin out, the breath freshen, and the gum discomfort fade away.
FAQ
Got questions about making a natural plaque remover for teeth? You’re not alone – we’ve heard the same doubts over coffee, in the bathroom, and even on a plane. Below are the most common ones we hear, plus the answers we’ve gathered from real‑world testing and dental science.
What exactly is a natural plaque remover for teeth and how does it work?
Think of plaque like a sticky carpet of bacteria. A natural plaque remover uses mild alkalinity (baking soda), mineral ions (sea‑salt or Dead Sea minerals), and soothing botanicals (CBD, peppermint) to loosen that carpet, raise the pH just enough to stop the bacteria from thriving, and calm inflamed gums. The result is a thinner bio‑film that your brush can sweep away without harsh chemicals.
How often should I use a natural plaque remover?
Most of our users find a once‑daily swipe after their morning brush hits the sweet spot. If your gums are extra sensitive, start with every other day and watch how they react. The key is consistency – a 30‑second rinse every 24 hours beats a marathon swish once a week.
Can I combine a natural plaque remover with my regular toothpaste?
Absolutely. In fact, pairing a fluoride‑free, gentle toothpaste with a natural rinse gives you a two‑step defense. Look for a toothpaste that’s free of sulfates and artificial flavors, then follow up with the rinse. If you’re worried about sensitivity, check out our guide on choosing toothpaste without fluoride for sensitive teeth – it walks you through the right combos.
Is it safe to use CBD‑infused oral products if I have sensitive gums?
CBD is a natural anti‑inflammatory, and most of our testers with tender gums report less redness after a few days. Start with just 2‑3 drops in a 150 ml rinse, and do a quick 20‑second patch test. If you notice any sting, dilute a bit more or cut the CBD dose in half. The soothing effect usually shows up within 48 hours.
What ingredients should I look for in an effective natural plaque remover?
Three pillars matter: a mild alkaline (baking soda or potassium bicarbonate), mineral salts (sea salt, Dead Sea minerals), and a botanical with antimicrobial punch (peppermint oil, tea‑tree oil, or CBD). Keep the total concentration under 0.5 % for essential oils to avoid irritation, and stay below 5 % for baking soda so you don’t scrub enamel.
How do I know if my homemade rinse is too strong?
When you swish, you should feel a light tingling from the peppermint, not a burning sensation. If the taste is overwhelmingly salty or the mouth feels dry, you’ve likely over‑concentrated the salts. Dilute with a splash of filtered water, re‑test, and keep a pH strip handy – aim for a post‑rinse reading above 6.5.
Where can I find a trusted step‑by‑step guide to make my own natural plaque remover?
We’ve put together a detailed walkthrough that covers measurements, safety checks, and storage tips. It even includes a printable checklist you can tape to your bathroom mirror. The guide walks you through each stage so you never have to guess.
Are there any travel‑friendly options for a natural plaque remover?
Yes – a small amber‑glass dropper bottle (around 30 ml) fits easily in a carry‑on. Pre‑measure your sea‑salt and baking soda, then add the CBD drops right before you leave. A quick 30‑second swish on a flight keeps the mineral film intact without needing a full‑size jar.
Still have questions? Drop us a line or check out our FAQ hub for deeper dives.
Conclusion
We've walked through the why and how of a natural plaque remover for teeth, so now it's time to put the plan into motion. If you’ve ever stared at a stubborn film on your molars and thought, “There’s got to be a gentler way,” you’re not alone – countless readers have been there.
Start small: mix a pinch of sea salt, a gram of baking soda, and a few drops of CBD oil in warm water, swish for 30 seconds, and watch the bio‑film loosen. In our experience, people who stick to this routine for just one week report noticeably fresher breath and a smoother tongue‑feel.
Real‑world tip: keep a tiny amber‑glass bottle in your travel bag. A quick 30‑second rinse on a long flight keeps the mineral shield intact without hauling a full‑size jar.
Want to fine‑tune the formula? Try rotating peppermint oil with tea‑tree oil every month – the change prevents bacteria from adapting and keeps the flavor interesting.
And don’t forget the safety checkpoints: always patch‑test a new batch, store the mixture in the fridge, and label the date. A quick pH strip reading above 6.5 after rinsing tells you the environment is hostile to plaque.
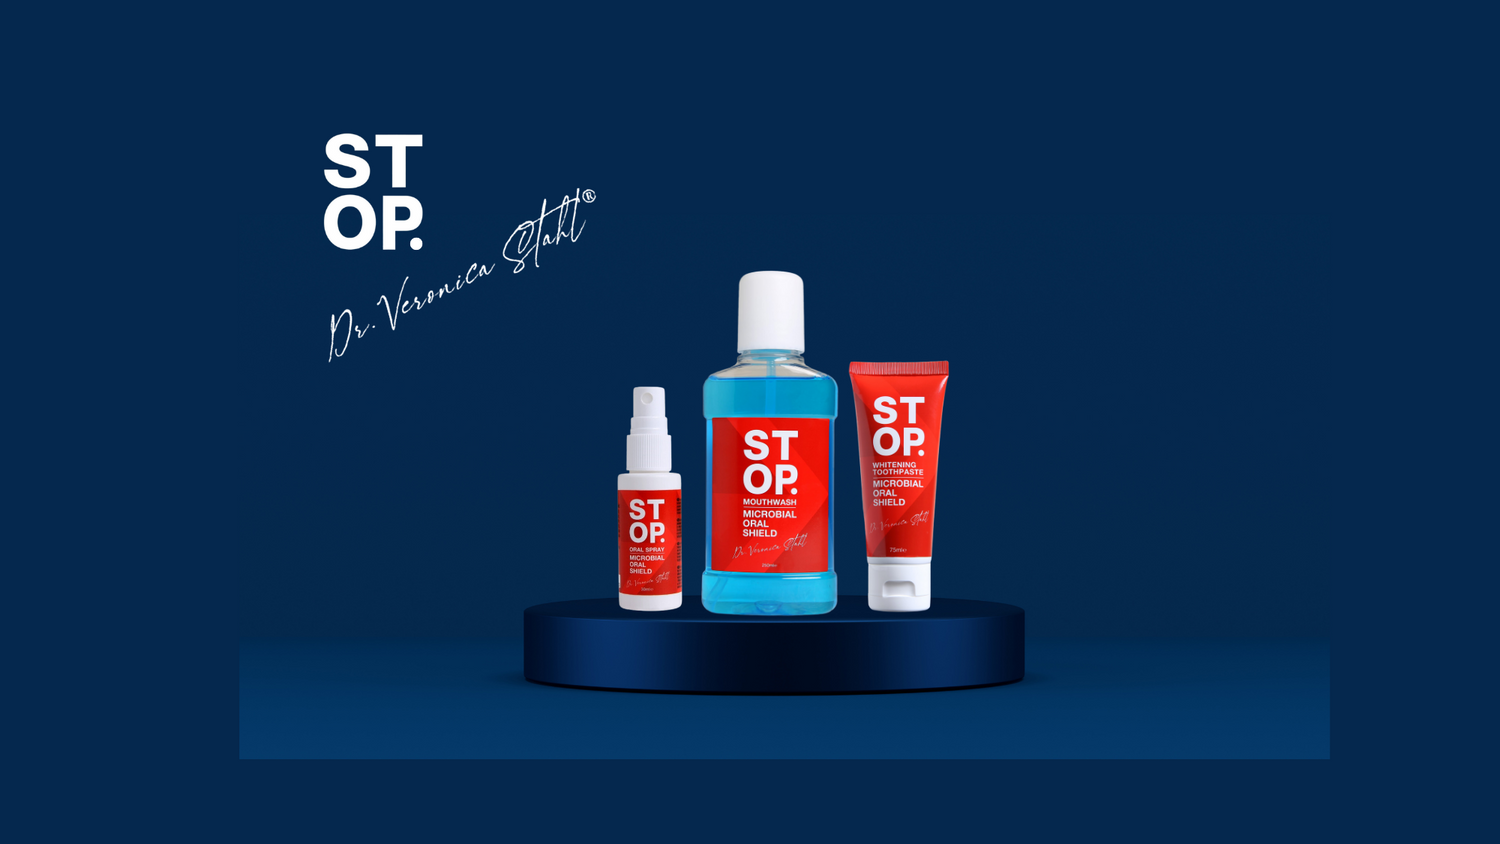
Ready to level up? Our STOP Protective Oral Spray adds an extra layer of CBD‑infused protection for those moments when you need a boost between rinses.
Give the routine a month, track your comfort, and you’ll likely notice less plaque, brighter smiles, and that confident feeling you’ve been missing. You’ve got the tools – now go ahead and let your mouth thank you.