

Finding the right natural teeth whitening method can feel overwhelming when sensitivity and the desire for safe, innovative oral care guide your choices. For many European millennials in Germany and France, the search for fluoride-free solutions starts with a careful look at existing tooth shade and oral health status. By focusing on a personalized assessment and proven natural ingredients, this guide helps you build a whitening routine that respects sensitivity and embraces modern, gentle approaches.
Table of Contents
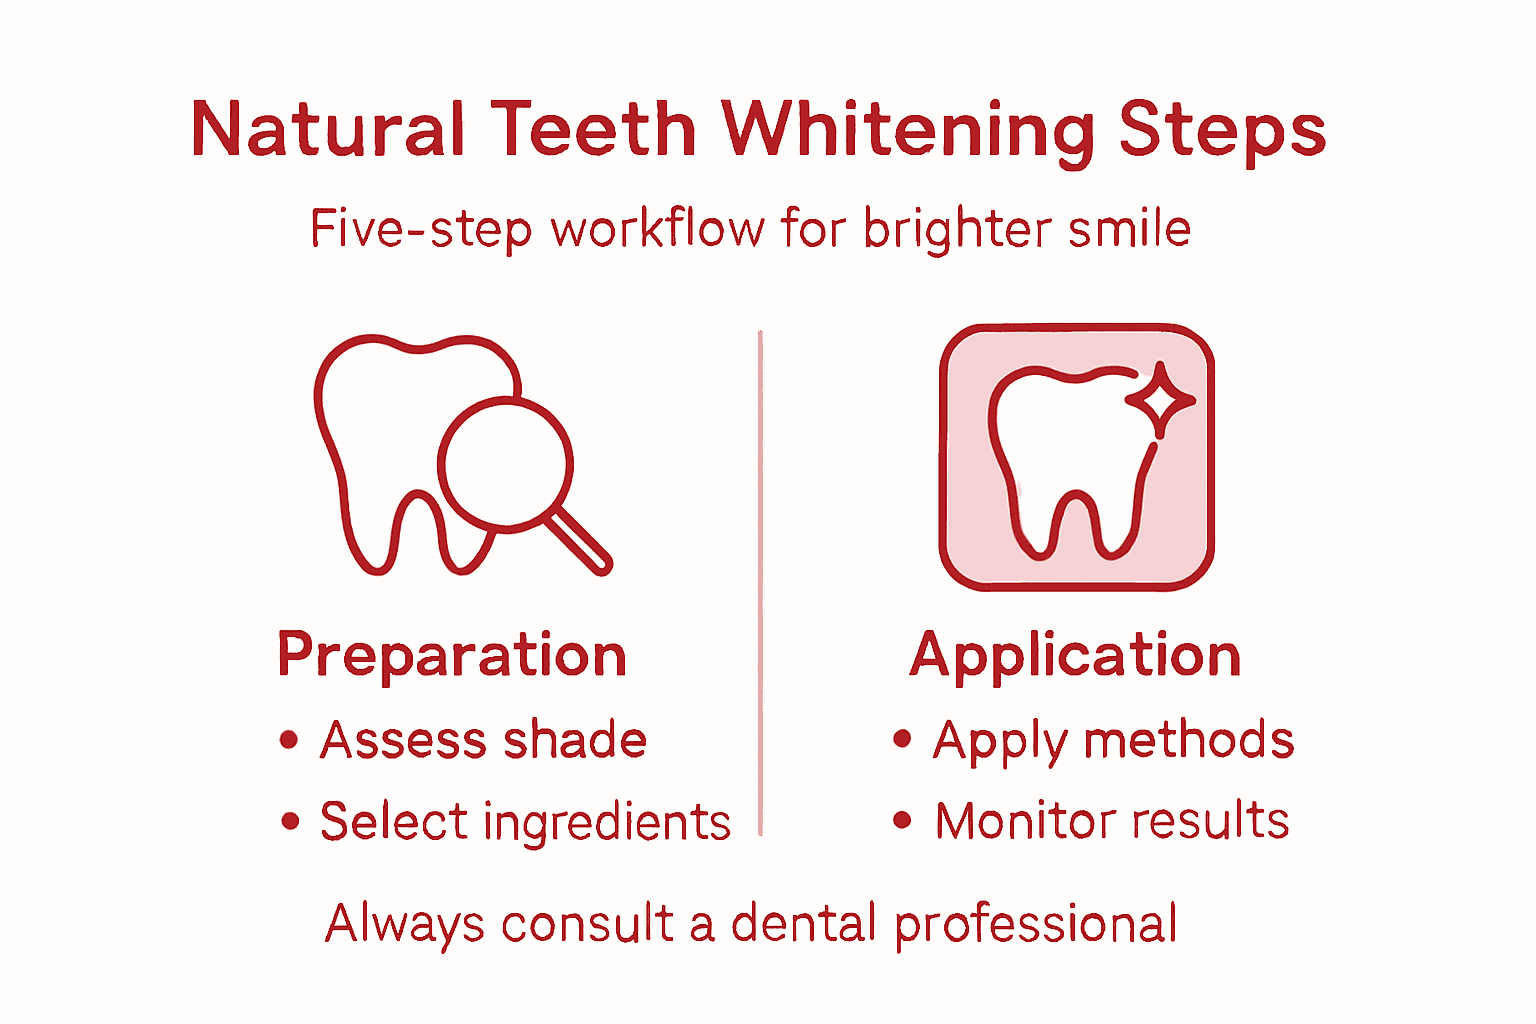
- Step 1: Assess Current Tooth Shade And Whitening Needs
- Step 2: Select Natural Whitening Products And Ingredients
- Step 3: Prepare Your Teeth And Oral Environment Properly
- Step 4: Apply Natural Whitening Methods Consistently
- Step 5: Check Whitening Results And Monitor Improvements
Quick Summary
| Key Insight | Explanation |
|---|---|
| 1. Assess your current tooth shade | Evaluating your teeth’s existing color helps tailor the whitening approach for better results tailored to your specific needs. |
| 2. Choose safe natural whitening products | Select ingredients like baking soda or hydrogen peroxide to effectively whiten teeth while ensuring enamel safety and overall oral health. |
| 3. Prepare your oral environment properly | Achieving optimal dental health, including visits to a professional, creates a safe baseline for successful whitening treatments. |
| 4. Apply whitening methods consistently | Regularly and strategically utilizing natural whitening techniques ensures gradual results while minimizing risks to tooth health. |
| 5. Track whitening results and improvements | Documenting your progress through photographs and shade guide comparisons helps you monitor changes and maintain dental health effectively. |
Step 1: Assess current tooth shade and whitening needs
Understanding your current tooth color is the foundational first step in developing an effective natural teeth whitening strategy. Before beginning any whitening process, you’ll want to conduct a precise evaluation of your teeth’s existing shade and specific discoloration characteristics.
To effectively assess your tooth shade, start by examining your teeth in natural daylight using a comprehensive dental assessment guide. Here are key factors to evaluate:
- Natural tooth base color (yellowish, grayish, or brownish undertones)
- Intensity of existing stains
- Areas of uneven discoloration
- Presence of dental restorations like crowns or veneers
Most dental professionals use standardized shade guides divided into categories:
- A1-A4: Light shades (white to pale yellow)
- B1-B4: Reddish-brown shades
- C1-C4: Gray shades
- D1-D4: Reddish-gray shades
Identifying your specific shade helps determine the most appropriate natural whitening approach. Some discolorations respond better to specific treatments, making this initial assessment crucial for personalized results.
Here’s a quick reference to common tooth shade categories and their typical whitening responses:
| Shade Category | Appearance | Typical Response to Natural Whitening |
|---|---|---|
| A1-A4 | White to pale yellow tones | Responds well, can brighten easily |
| B1-B4 | Reddish-brown undertones | May need multiple treatments |
| C1-C4 | Grayish hues | Slow progress, requires patience |
| D1-D4 | Reddish-gray shades | Often resistant, gradual changes |
Professional whitening assessments consider multiple factors beyond simple color matching, including tooth translucency, surface texture, and underlying oral health conditions.
Pro tip: Take clear, well-lit photographs of your teeth against a white background to track your whitening progress and maintain an objective baseline for comparison.
Step 2: Select natural whitening products and ingredients
Selecting the right natural whitening products is critical for achieving a brighter smile safely and effectively. Your goal is to choose ingredients that provide powerful whitening results while maintaining your overall oral health and avoiding harsh chemical treatments.
When exploring natural whitening ingredient safety, focus on scientifically validated components that deliver optimal results. Key natural whitening ingredients to consider include:
- Activated charcoal: Helps remove surface stains naturally
- Hydrogen peroxide: Mild bleaching agent in controlled concentrations
- Baking soda: Gentle abrasive that helps remove discoloration
- Coconut oil: Supports oral microbiome and provides mild whitening effects
- Banana peel: Contains minerals that can help reduce tooth stains
Professional dental researchers recommend evaluating product ingredients based on several critical factors:
Compare popular natural whitening ingredients by effectiveness and oral health impact:
| Ingredient | Whitening Effectiveness | Enamel Safety |
|---|---|---|
| Activated Charcoal | Moderate surface stain removal | May cause abrasion if overused |
| Hydrogen Peroxide | Noticeable whitening improvement | Safe at low concentrations |
| Baking Soda | Mild lighten and cleaning | Generally safe, avoid over-scrubbing |
| Coconut Oil | Subtle whitening and gum support | Gentle, supports oral microbiome |
| Banana Peel | Minimal stain reduction | Very safe, suitable for sensitive teeth |
- Concentration of active whitening agents
- Potential sensitivity impacts
- Long-term enamel protection
- Natural ingredient sourcing
Natural whitening ingredients work best when selected strategically, balancing effectiveness with minimal oral health disruption.
Pro tip: Always patch test new whitening products and consult with a dental professional before starting any comprehensive whitening regimen to ensure compatibility with your specific dental health needs.
Step 3: Prepare your teeth and oral environment properly
Preparing your teeth and oral environment is a critical foundation for achieving successful and safe natural teeth whitening. Your objective is to create an optimal baseline for whitening by ensuring your oral health is in peak condition before starting any treatment.
Professional oral health experts recommend comprehensive oral health preparation that goes beyond simple surface cleaning. This involves a systematic approach to evaluate and optimize your dental landscape:
- Dental examination: Schedule a professional checkup to identify any underlying issues
- Plaque removal: Thoroughly clean teeth to create a clean whitening surface
- Gum health assessment: Ensure gums are healthy and free from inflammation
- Sensitivity screening: Check for potential sensitivity before whitening treatments
Key preparatory steps include:
- Professional dental cleaning
- Addressing any existing cavities or dental work
- Evaluating tooth and gum sensitivity
- Creating a clean oral baseline
Proper oral preparation is not just about aesthetics, but about creating a safe and effective environment for natural whitening treatments.
Additionally, focus on oral microbiome balance by maintaining proper hydration and nutrition. This supports your teeth’s natural resilience and prepares them for whitening processes.

Pro tip: Consider using a soft-bristled toothbrush and gentle, natural toothpaste in the week leading up to your whitening treatment to minimize potential sensitivity and create an optimal oral environment.
Step 4: Apply natural whitening methods consistently
Successfully achieving a brighter smile requires disciplined and strategic application of natural whitening techniques. Your goal is to implement a consistent routine that delivers gradual, safe whitening results without compromising your dental health.
Dental professionals emphasize consistent whitening method application as the cornerstone of effective natural tooth whitening. This means developing a systematic approach that balances effectiveness with oral safety:
- Timing: Establish a regular whitening schedule
- Technique: Use precise application methods
- Measurement: Track progression and results
- Moderation: Avoid overuse of whitening agents
Key implementation strategies include:
- Follow product instructions meticulously
- Use recommended concentrations
- Maintain consistent intervals between treatments
- Monitor tooth sensitivity
Effective natural whitening is about precision, patience, and understanding your individual dental needs.
Ensure you rotate different natural whitening techniques to prevent tooth sensitivity and maintain enamel health. This might involve alternating between activated charcoal, hydrogen peroxide rinses, and oil pulling methods.
Pro tip: Keep a detailed journal tracking your whitening progress, noting sensitivity levels, application frequency, and visible results to help you customize your approach effectively.
Step 5: Check whitening results and monitor improvements
Tracking your teeth whitening progress systematically ensures you achieve the desired results safely and effectively. Your goal is to create a comprehensive method for evaluating whitening outcomes while maintaining your oral health.
Dental researchers recommend precise whitening result tracking through multiple assessment strategies that go beyond simple visual comparison:
- Photographic documentation: Take consistent, well-lit images
- Shade guide comparison: Use professional dental shade guides
- Sensitivity tracking: Monitor oral comfort and potential reactions
- Professional consultation: Schedule periodic dental evaluations
Key monitoring techniques include:
- Establish a baseline reference color
- Photograph teeth under consistent lighting
- Compare against professional shade charts
- Note any changes in tooth sensitivity
Effective whitening monitoring requires objective measurement and professional insight, not just subjective visual assessment.
Remember that individual whitening results vary based on factors like initial tooth color, technique used, and personal oral chemistry. This means your progress might look different from someone else’s journey.
Pro tip: Create a digital or physical tracking journal with dated photographs, shade comparisons, and notes about your whitening experience to help you and your dentist understand your unique whitening progression.
Unlock Your Brightest Smile with Natural Oral Care Solutions
Mastering natural teeth whitening starts with understanding your unique dental needs and preparing your mouth for safe, effective treatments. If you are aiming to gently brighten your smile while protecting enamel and minimizing sensitivity then embracing products with scientifically backed natural ingredients like hemp and Dead Sea minerals is essential. These components work in harmony to reduce stains and support oral health without harsh chemicals commonly found in traditional toothpaste.

Take control of your whitening journey today by exploring the carefully crafted selection on the STOP Oral Care collection. Each product is designed by expert Dr. Veronica Stahl to deliver results alongside the gentle care your teeth deserve. For those beginning their journey or wanting a comprehensive oral health upgrade visit our Home Page to discover innovative fluoride-free options that fit your natural whitening routine. Act now and experience the transformative power of nature with guidance from https://stop-oralcare.com. Your brighter smile is only a few clicks away.
Frequently Asked Questions
How do I assess my current tooth shade before starting natural teeth whitening?
Start by examining your teeth in natural daylight and use a shade guide to identify the color category of your teeth. Take clear photographs of your teeth for future reference to monitor your progress.
What natural ingredients should I consider for whitening my teeth?
Consider using activated charcoal, hydrogen peroxide in low concentrations, baking soda, coconut oil, and banana peel. Each ingredient offers different benefits, so choose based on the level of whitening you desire and your personal oral health needs.
How can I prepare my teeth for a natural whitening treatment?
Prepare your teeth by scheduling a professional dental cleaning and addressing any cavities or gum issues. This ensures a clean surface for effective whitening and reduces the risk of sensitivity during the process.
How often should I apply natural whitening methods for best results?
Establish a consistent whitening schedule, applying your chosen method according to product instructions, typically every few days. Monitor your sensitivity levels and adjust the frequency if needed to ensure you maintain oral health while achieving a brighter smile.
What methods can I use to track my teeth whitening progress?
Track your progress by taking consistent, well-lit photos and comparing your tooth shade to a dental shade guide. Document any changes in sensitivity and schedule check-ins with your dentist to assess your results objectively.
Recommended
- How to Whiten Teeth Naturally at Home: Simple Steps for a Brighter Smi – Stop Oral Care
- Natural Toothpaste Reviews: A Comprehensive Guide to Choosing the Best – Stop Oral Care
- Best Natural Toothpaste Without Fluoride: Top 5 Picks for a Cleaner Sm – Stop Oral Care
- The Complete Guide to Remineralizing Toothpaste Without Fluoride – Stop Oral Care
- Glow Orthodontics Langley | #1 Orthodontist in Langley, BC
- How To Stop Grinding Teeth In Sleep Naturally? – LongevityBotanicals